| Help for Alpine - XOAUTH2 |
| You are in Home > Miscellaneous > XOAUTH2 > Authorizing Alpine to access Gmail |
If you want to use XOAUTH2 to authenticate to the Gmail server, you must set your inbox or incoming folder, and your smtp servers as follows
inbox: {imap.gmail.com/ssl/user=your@id.com/auth=xoauth2}INBOX
smtp: smtp.gmail.com/ssl/user=your@id.com/auth=xoauth2
here your@id.com, is your id to login to gmail. For example it could be youraddress@gmail.com, or youraddress@company.com, if your company uses gmail as its email provider.
Now let's go through the one-time set up of XOAUTH2 in Gmail. First we assume you have already set up Gmail as your inbox or as an incoming folder.
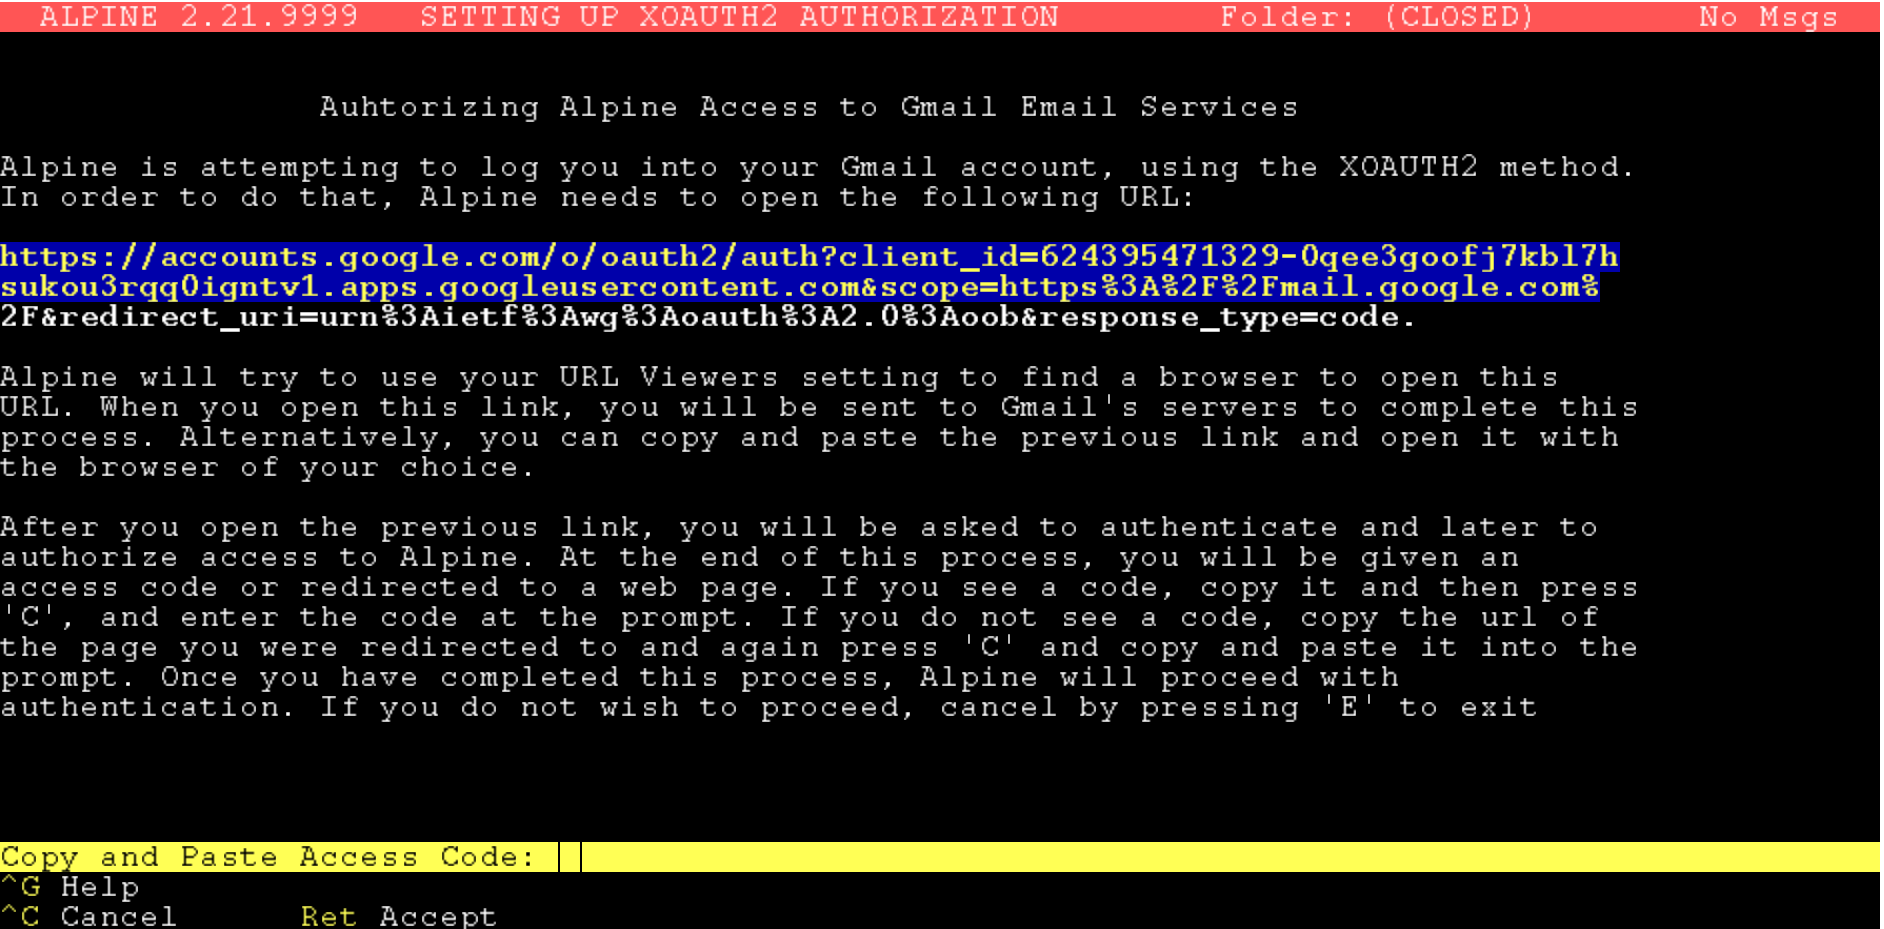
The rest of the set up will happen once you try to open that folder. When you do that, you will see a long message in the screen. You must have seen the top part of that message when you got your client-id and client-secret. Now we will concentrate in the second part section of that screen. If you scroll down, you will see a very long link. Make sure you scroll down so you can at least see a text that looks more or less as follows.

Looking at the screen, there are some commands in the menu. The one you will use to setup Alpine is the "C" command, to enter the code. If you do not wish to proceed, simply cancel by pressing "E" to exit. However, before you enter a code you need to get it from Gmail's servers. This is done by opening the long URL that appears in the screen. Alpine will attempt to use your web browser to open that link but you can use any browser. Since you will login into Gmail, you must open this link with a browser that supports Javascript. This is a requirement set up by Gmail, not Alpine. This might mean that persons with disabilities might need additional help to login to Google's servers.
If you open the link, you will see a normal login screen. Enter your login
and password.

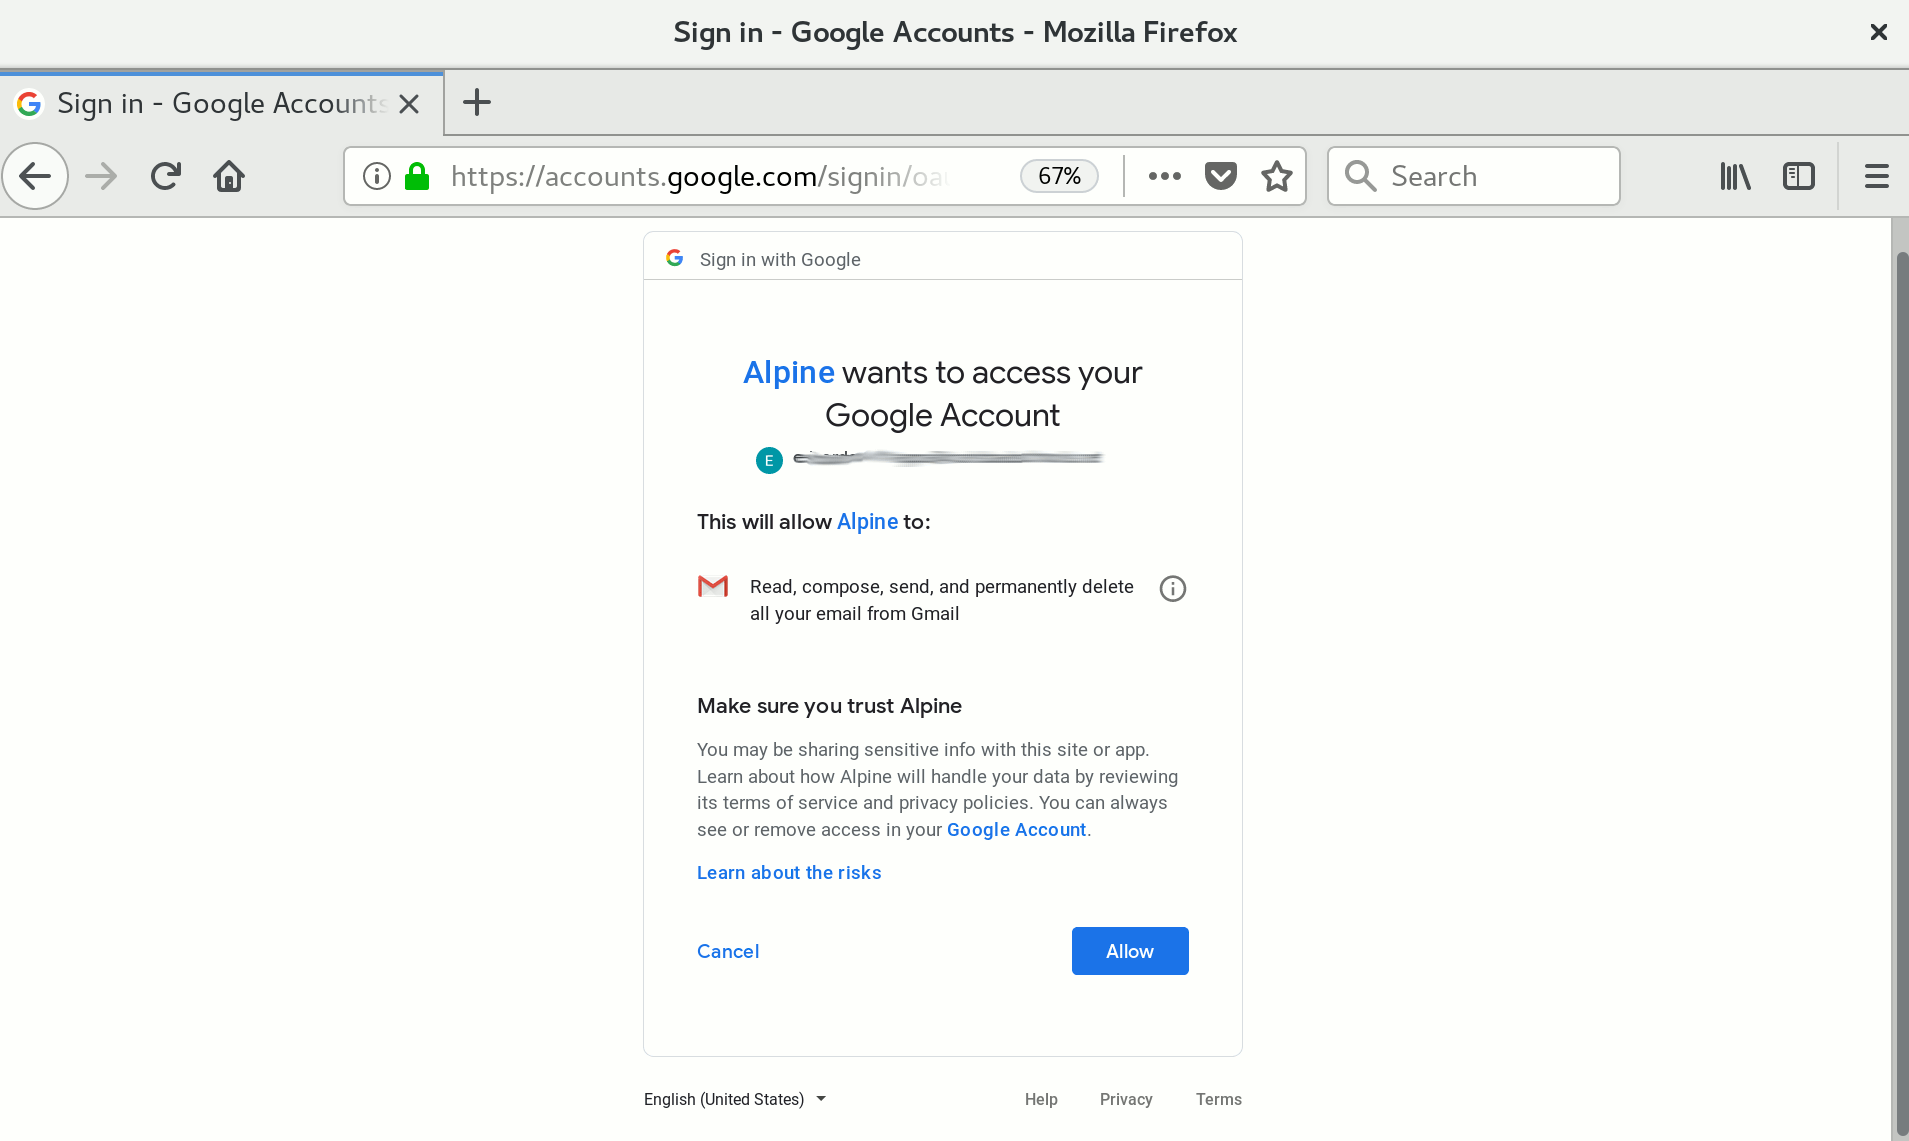
Once you complete loging in to your account, you will see the following screen

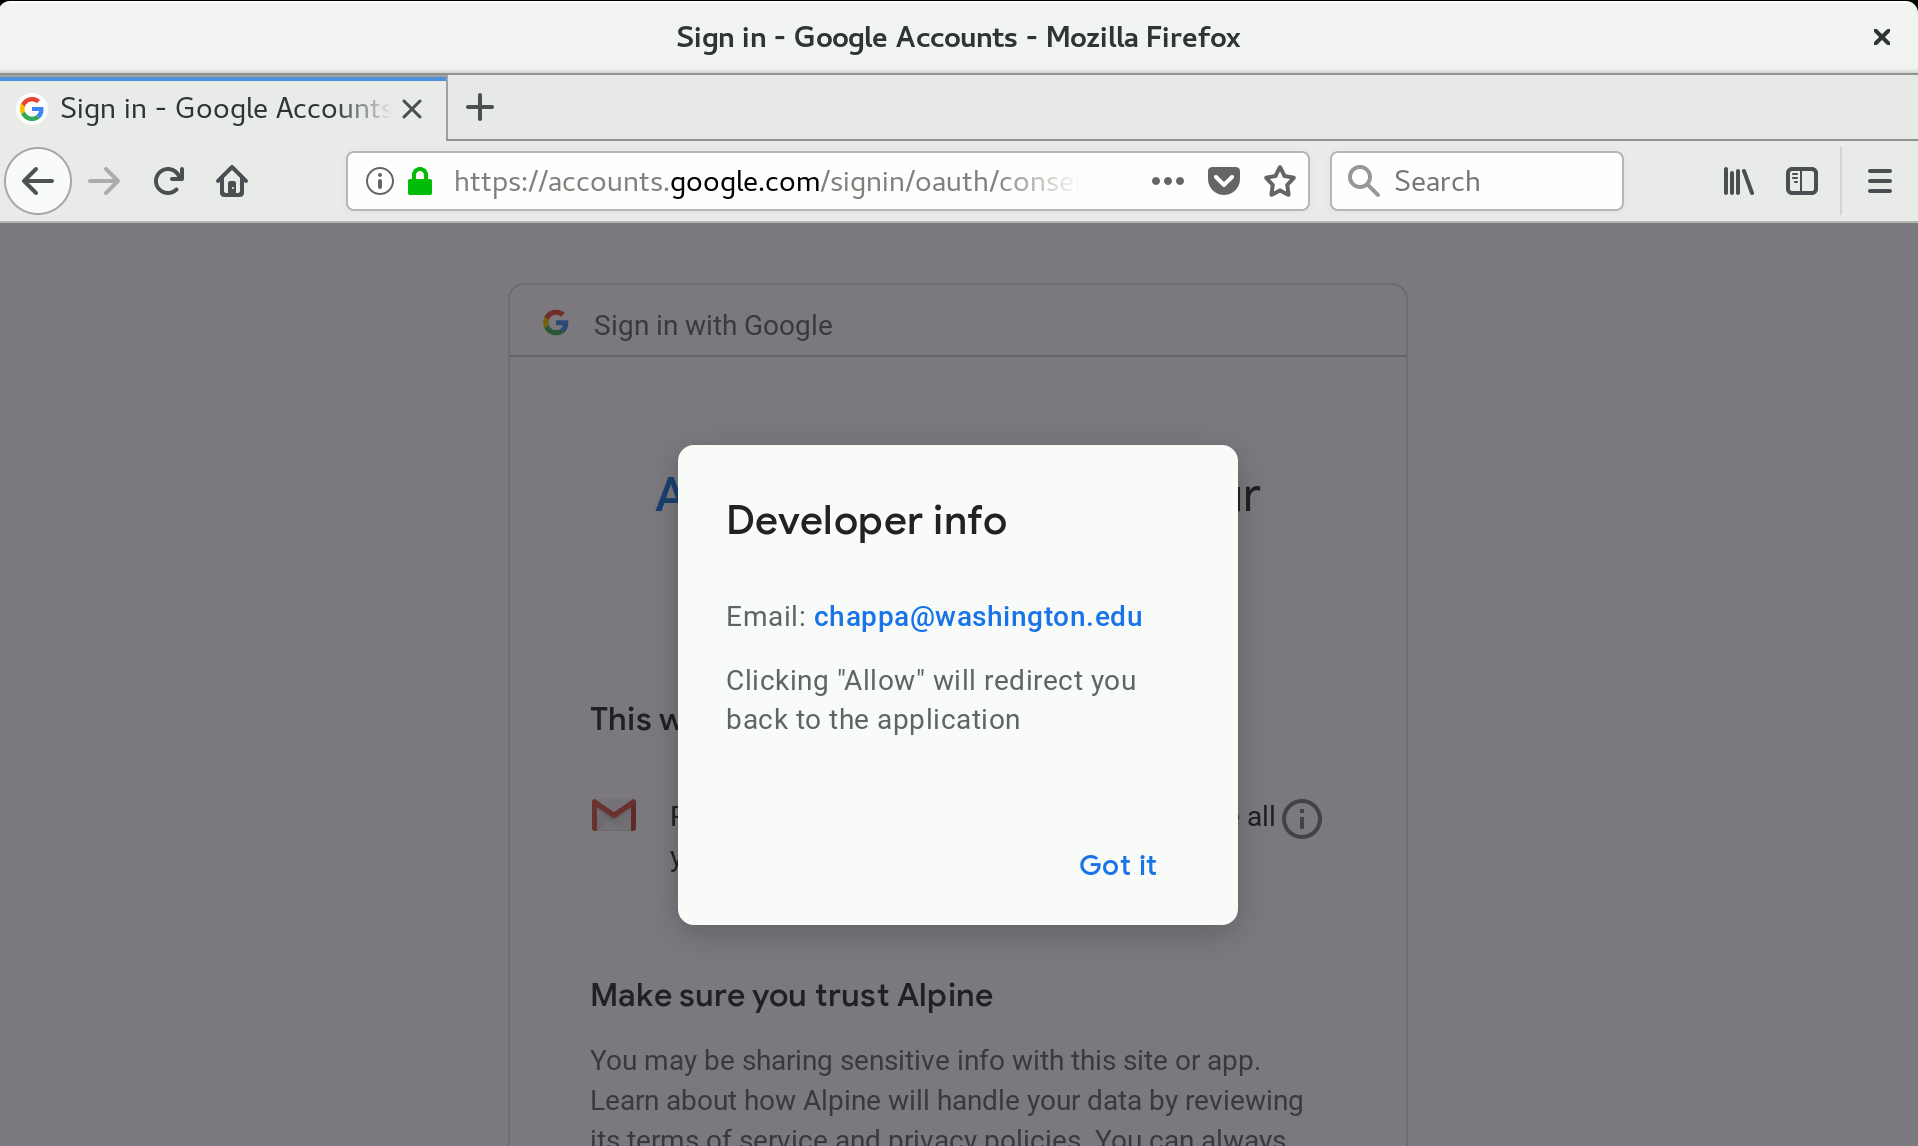
What you are supposed to do is to click on the link at the bottom of the warning screen, and Allow Alpine access to your account. [1]
If you are using a version of alpine before 2.26 you will see an authorization code which you must copy and enter into Alpine by pressing the C command. However, since version 2.26 you will see a failure screen telling you that your browser was unable to connect to http://localhost, as below

Copy the URL you see at the top of the screen, and return to Alpine. You will go back to the set up screen where you started this process. Now press "C". It will look as follows

Paste the code into this prompt. You will see something similar to the following

Finally, press Enter. Alpine will ask you if you want to preserve this code in your password file.

If your version of Alpine was compiled with password file support and you answer Yes to the question if you want to preserve the refresh and access tokens, then Alpine will save this code for you and you will be able to login to Gmail to manage your email. Otherwise you will have to repeat these steps in the future every time you want to login to your Gmail account.
You are done! Now you can login to your Gmail account using XOAUTH2. In the future you will not go through this process. Alpine will open your account as soon as you attempt to open your gmail account. (However, note that this code expires. If you do not access your Gmail account using Alpine for a long time, Google will expire this code, and you will have to go through this process again to get a new one.)
Also note that this set up is done on each device that you use Alpine. If you use Alpine in two different devices, you will have to go through this process in each device. Gmail keeps a record of the last 50 codes that it gives you before it deletes them or expires them. If you use one or two of them frequently, you will never have to generate a code again.

| You are in Home > Miscellaneous > XOAUTH2 > Authorizing Alpine to access Gmail |