| Help for Alpine - XOAUTH2 |
| You are in Home > Miscellaneous > XOAUTH2 > Registering Alpine with Gmail |
Acknowledgement: These directions were based on text written by Dr. Mark Caprio, but they have been updated due to changes in the way Google requires applications to register. If you are doing this for the first time, please follow these directions carefully.
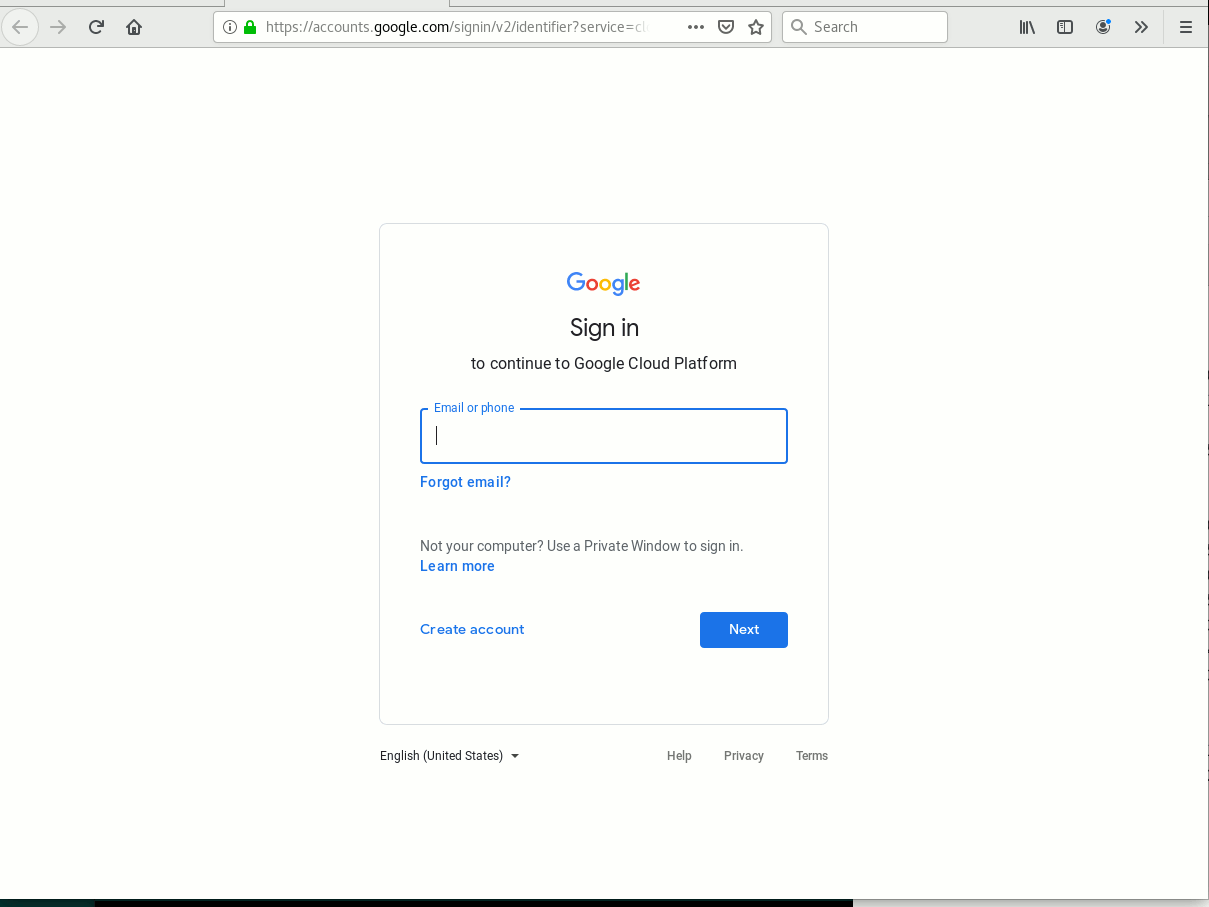
Before you can use Alpine, you must tell Google that you want to register an app with them. Head onto https://console.developers.google.com and login in to your account.
The first time you are there, you will have to accept their terms, etc. This will take
to your dashboard which looks as follows.
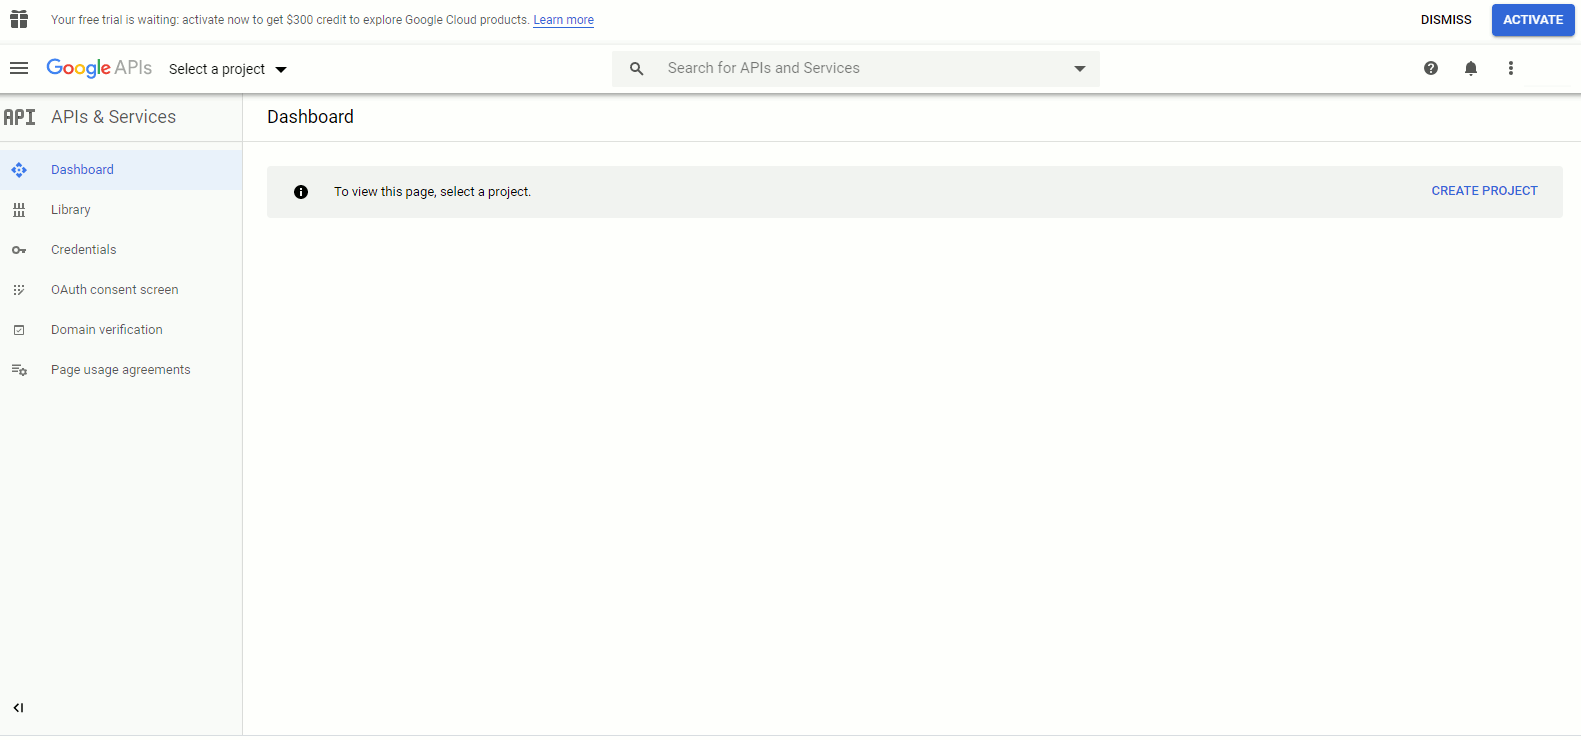
Select "Create project" at the top right. You will have to give the project a "Project name". What you choose for this doesn't matter, e.g., "alpine". If you are using Alpine as an internal you may also have to select your G-Suite "Organization" and "Location". Click Create after filling up these fields.

In the Dashboard screen, go to the "OAuth consent screen" tab. The first page you
are presented with will be very simple. You will be asked to choose the "User Type".
Select "Internal" for a G-Suite account, and "External" for a personal
email account, then hit "Create".

This will take you to a second, more extensive screen. In this screen fill up
the required fields. In order to proceed, you have to give the
application an "Application name". Again, what you choose for this
doesn't matter, e.g., "alpine". Also fill up your email address
in the "User support email" at the top, as well as under
"Developer contact information", then click on the "Save and Continue"
button at the bottom of the screen.

In the next screen you can configure scopes. That means which parts of google
is your app going to access. You do not need to add any scopes, so click on the
"Save and Continue" button at the bottom of the screen.

In this screen you need to add Test users. These are the email addresses that you
will allow to have access to their resources in Gmail. In particular, add your email
address here.

Click on the "Save and Continue" button at the bottom of the screen. This will take you to a summary of your Alpine registration. Click on the "Back to Dashboard" button at the bottom of the screen.
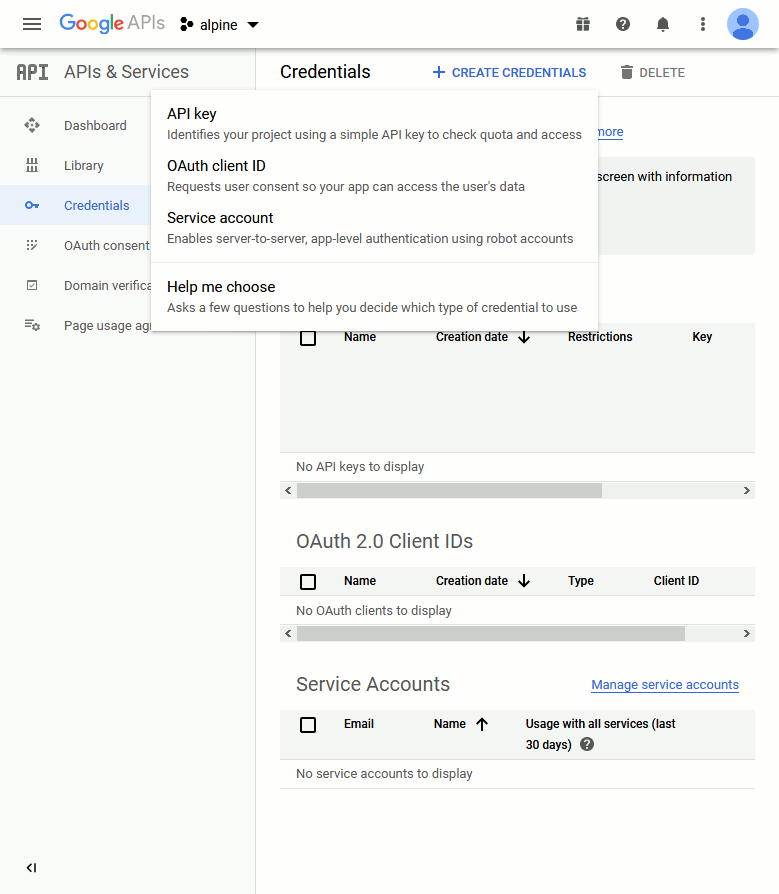
In the dashboard, go to "Credentials" tab. Click on
"+ Create credentials" at the top of the
page, and select "OAuth client ID".
This will take you to a page entitled "Create OAuth client ID". You will have to select an "Application type", for which "Desktop app" appears to be the most suitable choice. Then you will have to select a "Name" for the client. What you choose for this doesn't matter, either, e.g., "alpine", or the default "Desktop client 1". Hit "Create".

This will take you to a window entitled
"OAuth client created", which will provide you with "Your Client ID" and
"Your Client Secret". Both these are long strings. Use the clipboard to copy them
into your Alpine configuration.

Now you are ready to continue to the last step in this process, which is Authorizing Alpine to read your email in Gmail.
| You are in Home > Miscellaneous > XOAUTH2 > Registering Alpine with Gmail |